What an interior visualization should do
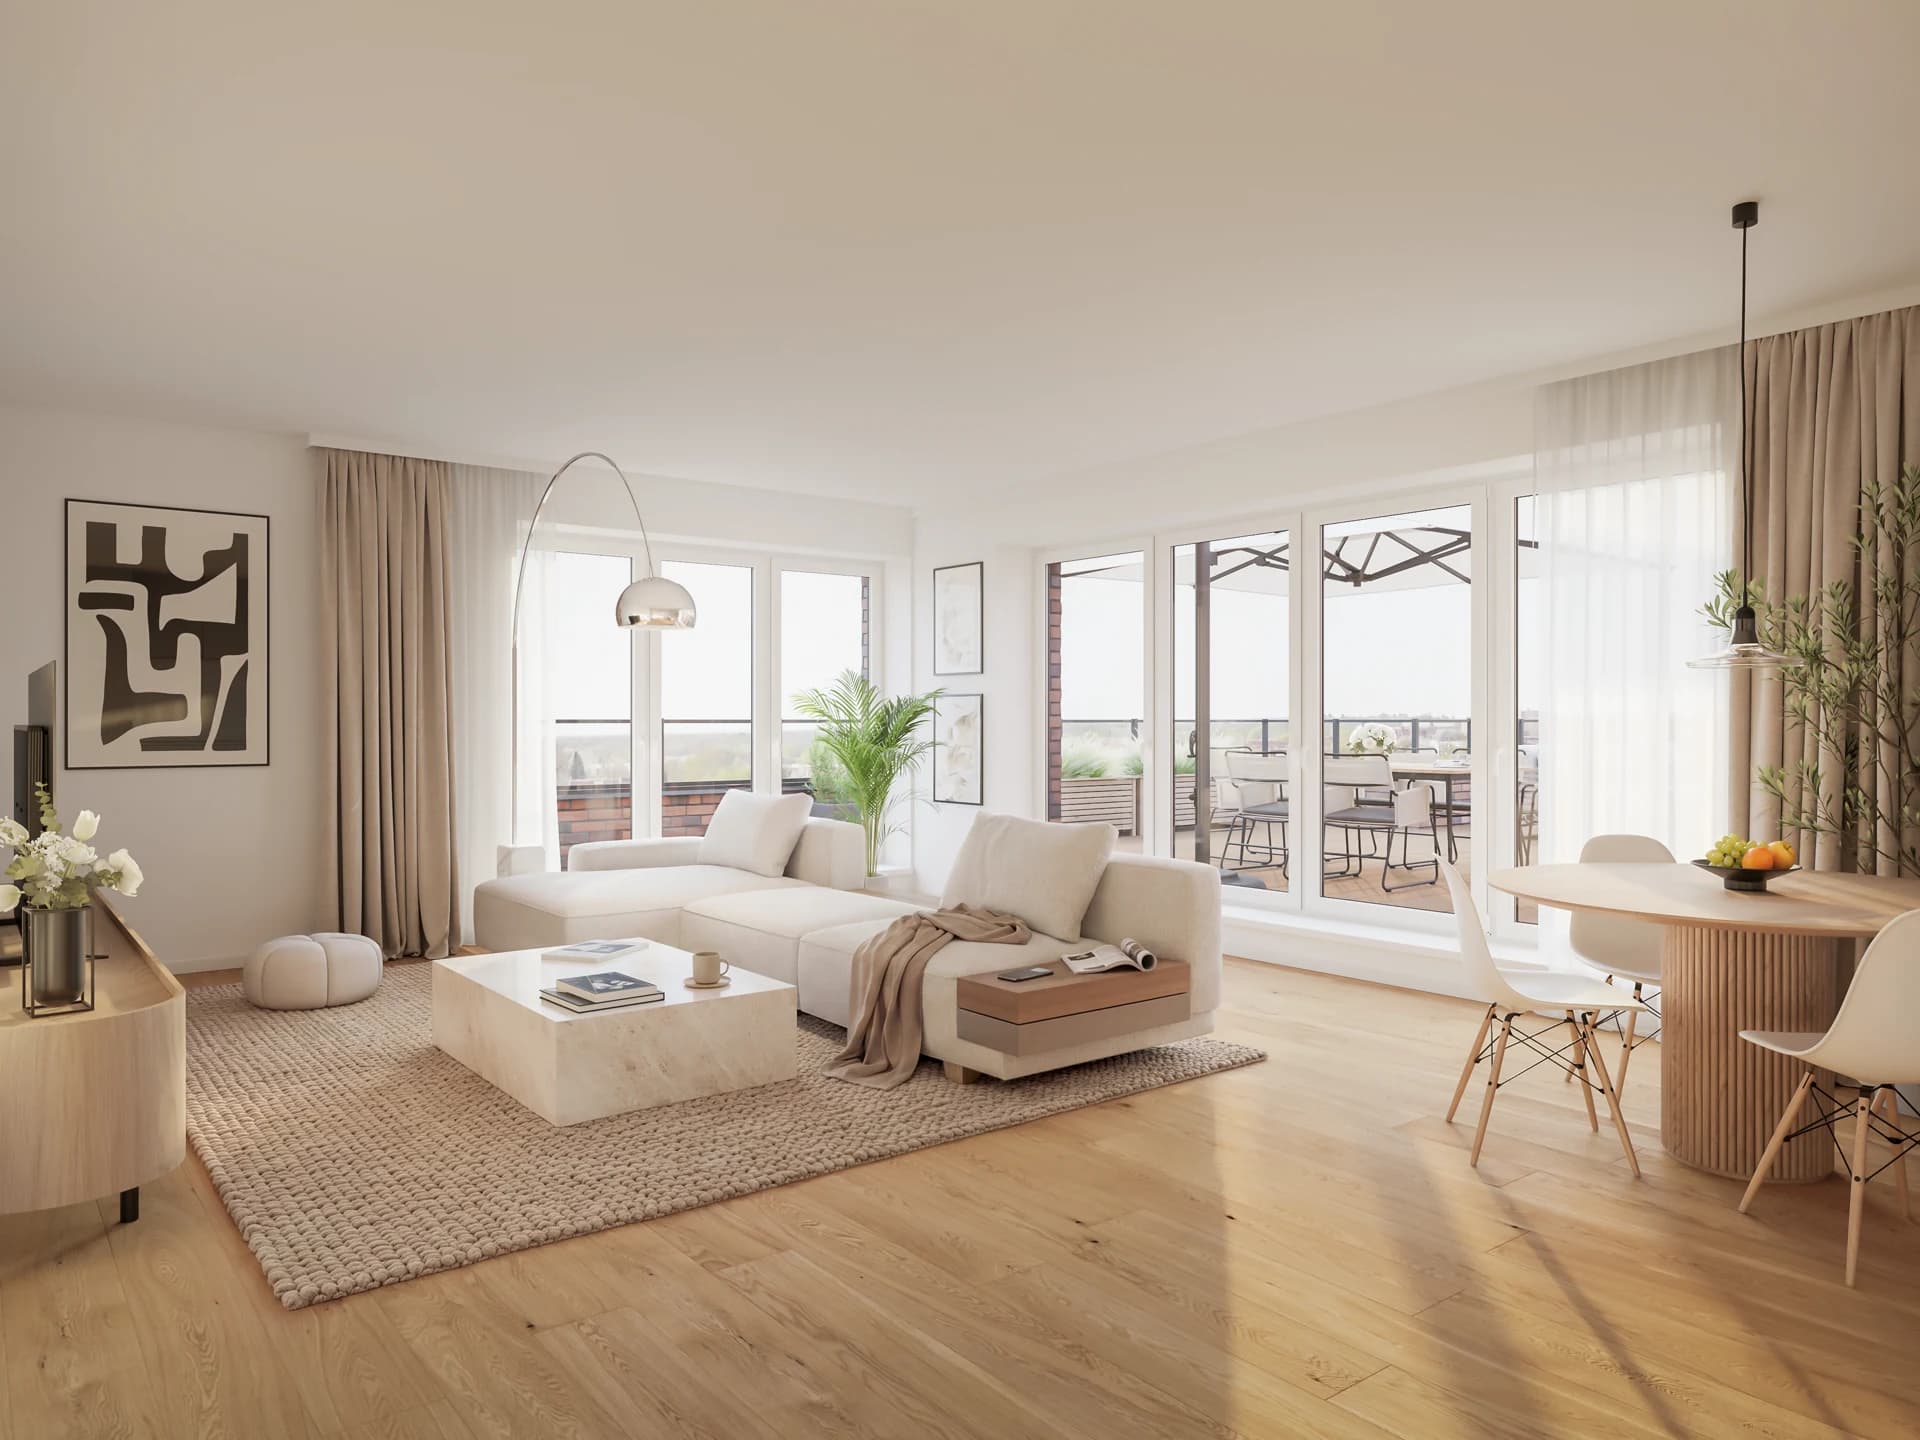
A good interior visualization doesn't just illustrate the floor plan, it shows how the space actually feels. Material, daylight, furnishing, and level of detail decide whether an image makes the space intelligible or merely decorates it.
Pipeline: 3ds Max, V-Ray, Photoshop. Material reflections, daylight, and shadow direction are tuned so the space reads not as a 3D model but as a photographed room.
The time of day strongly shapes how an interior reads. Warm afternoon light, a neutral midday sky, or an evening mood with the artificial lighting switched on each tell a different story about the same room. Which mood fits the property and the target audience is something we clarify before production.
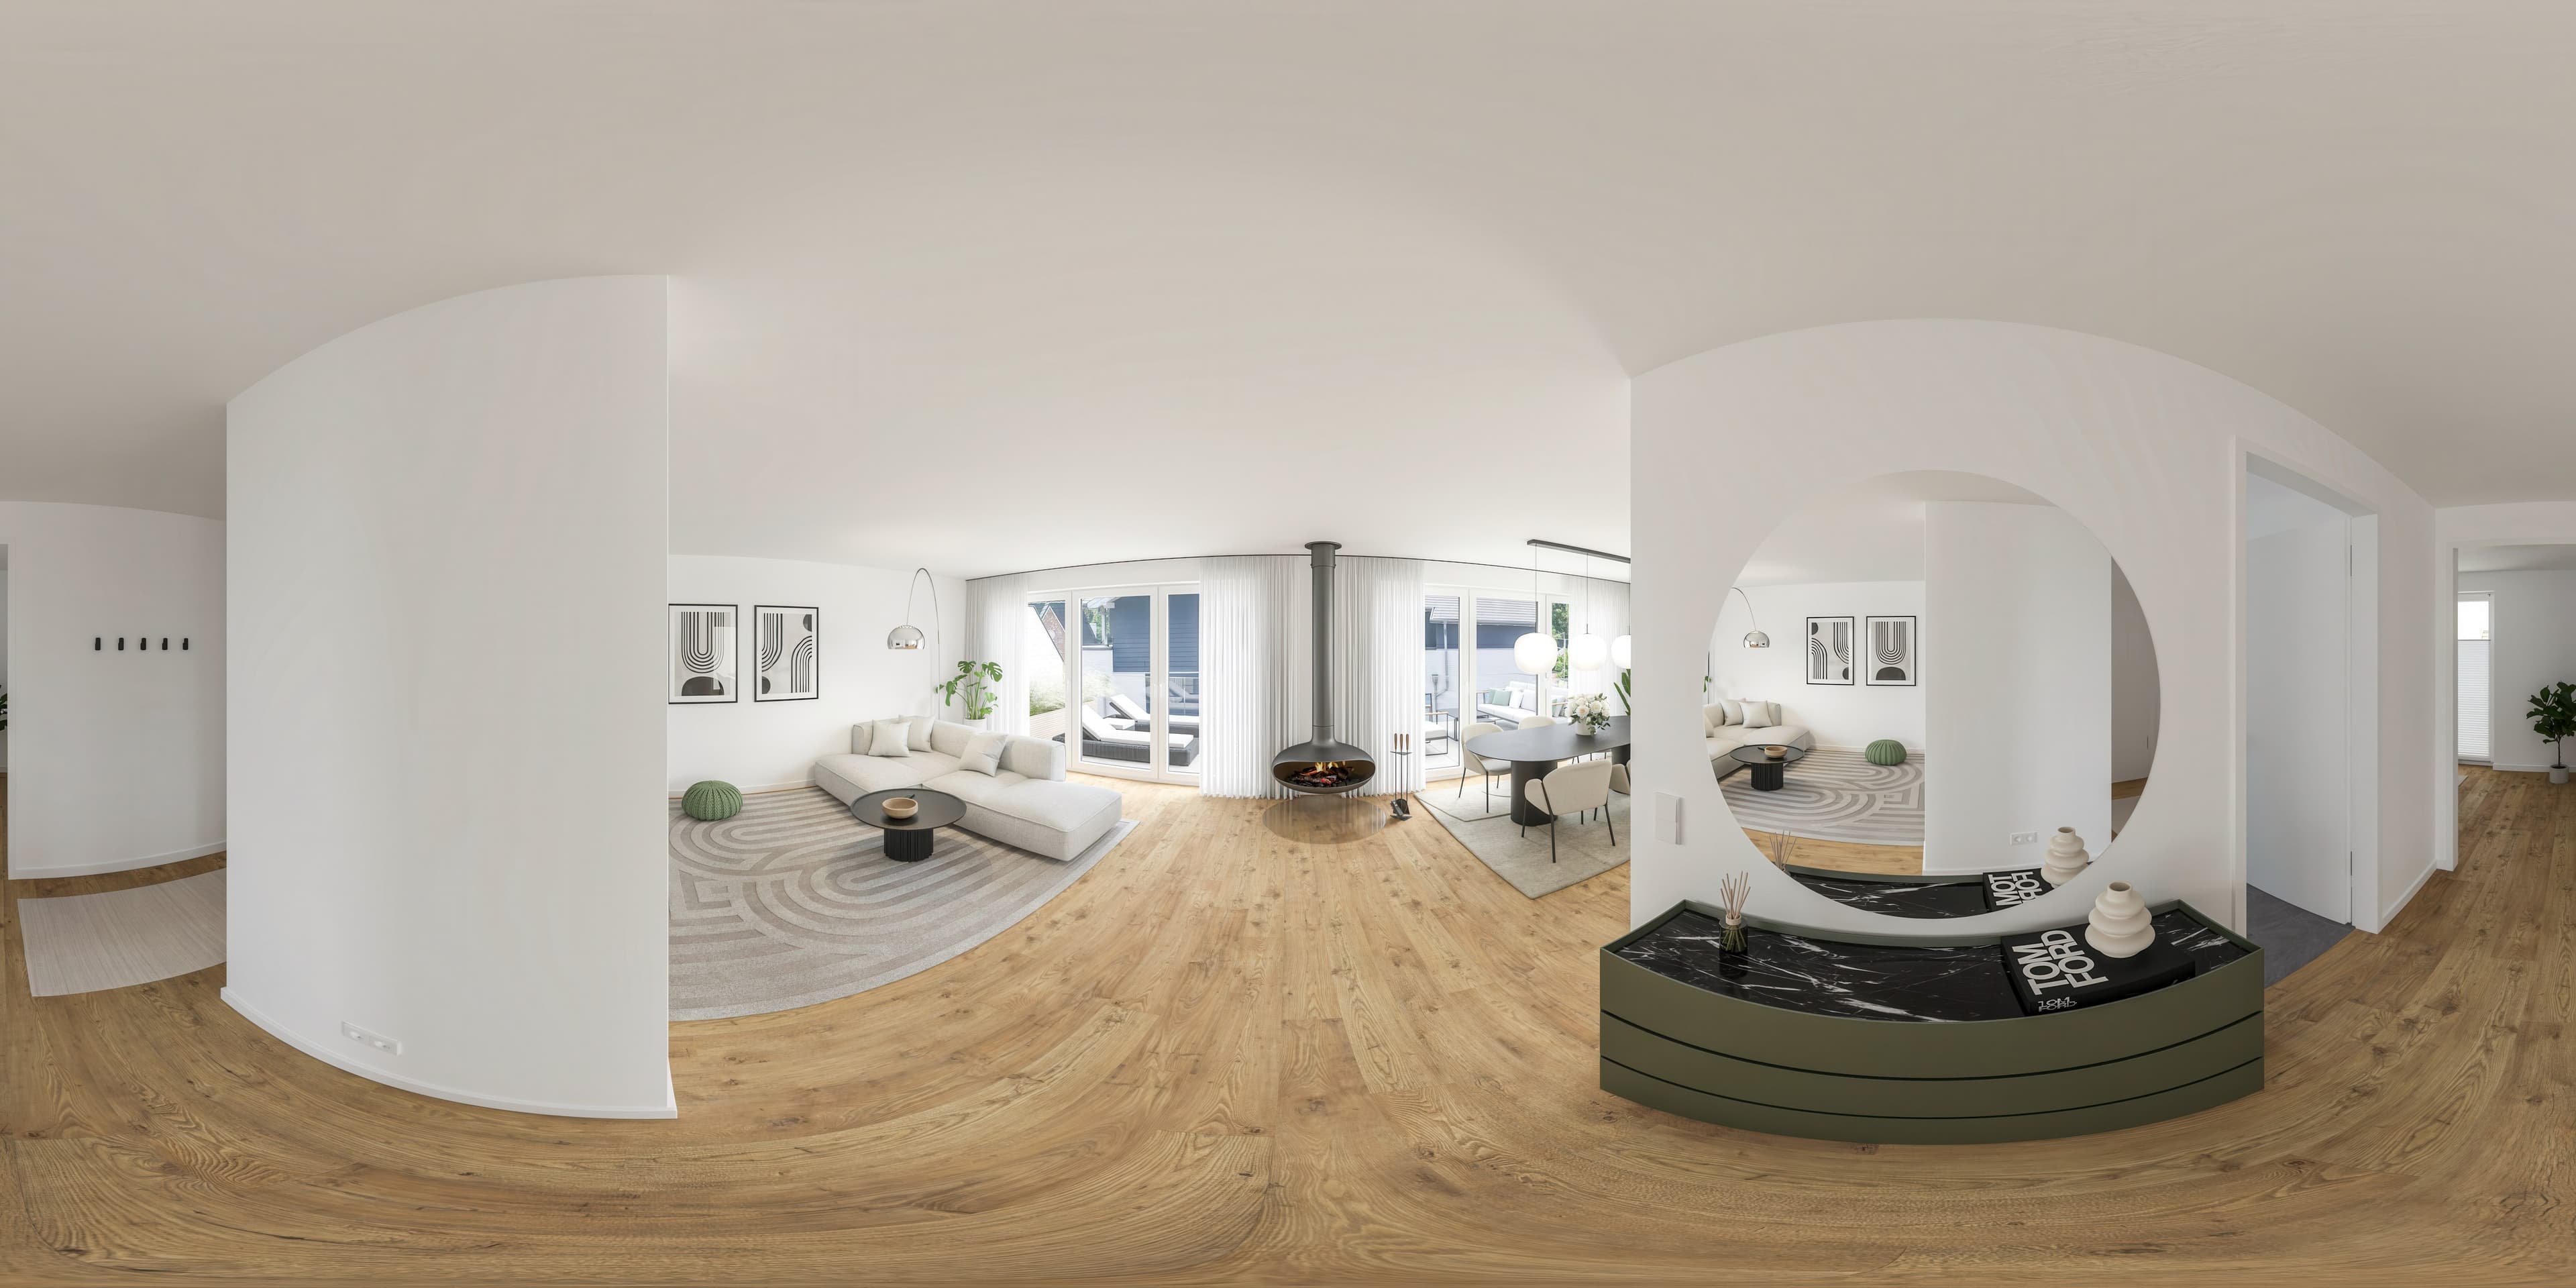
Across several rooms or units of a project, a consistent look matters. The same furnishing language, material world, and lighting keep the images reading as one series rather than a set of unrelated single shots. That keeps the marketing recognizable across the entire project.
Where interior visualizations are used
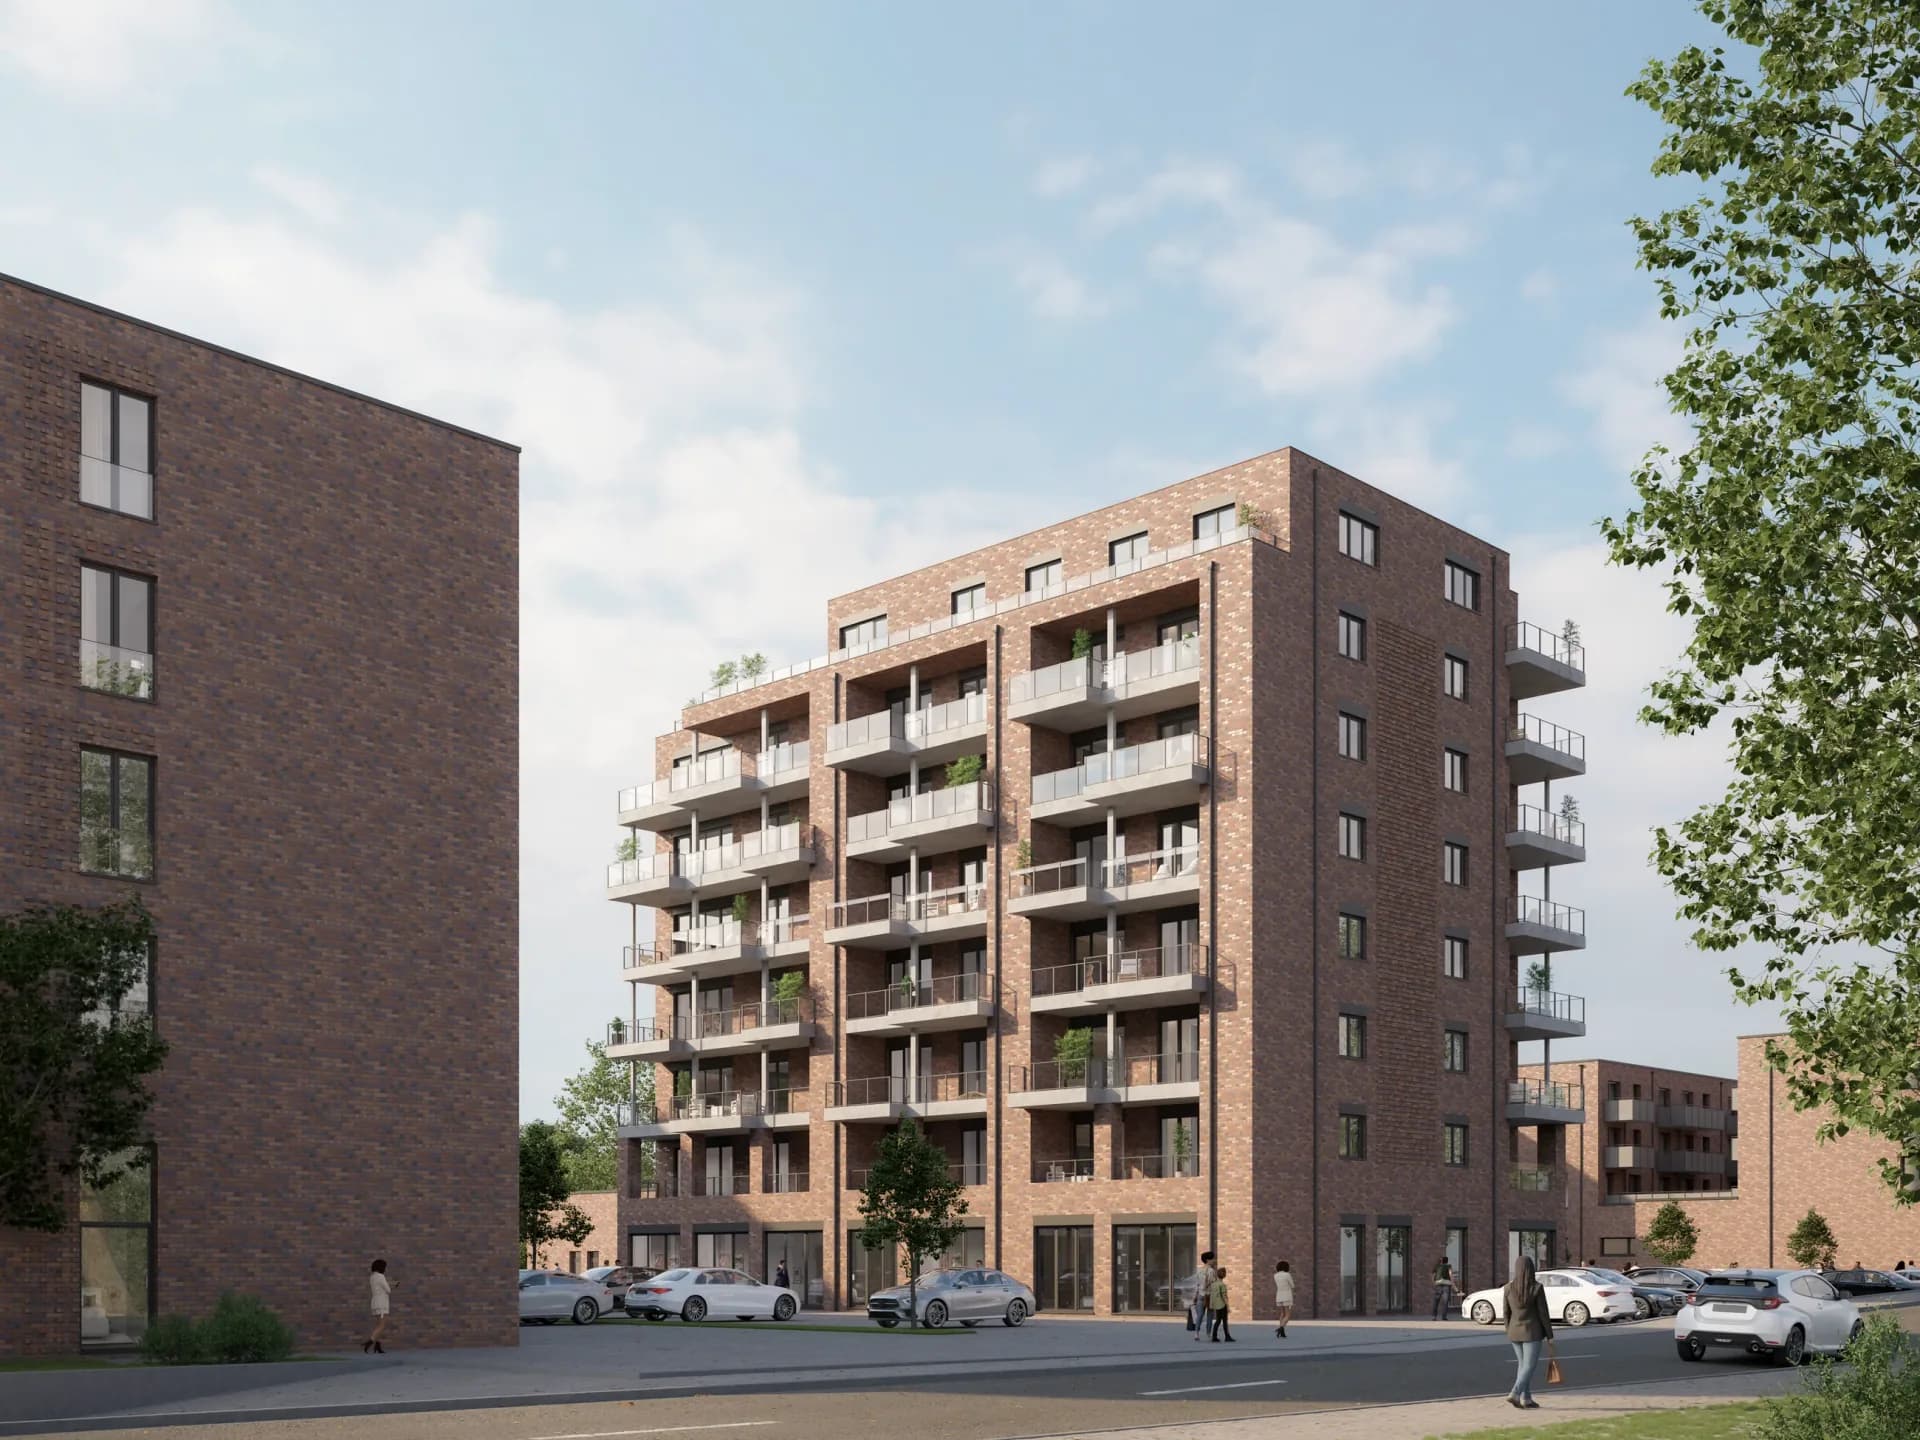
Marketing for new-build apartments
Living rooms, kitchens, bathrooms, and bedrooms as renderings for exposés, listing portals, and your website. Prospective buyers see the apartment before it is built.
Renovation and remodeling
Show existing rooms in their planned state, for client presentations, cost approval, or planning alignment.
Material and furnishing variants
Variants of materials or furnishings on the same view. You make decisions early and confidently, before real delivery or construction.
Showrooms, practices, and commercial spaces
Offices, medical practices, restaurants, or retail spaces as visualizations for concept presentations, investor pitches, and approval processes.
How an image is made
Four steps, around two to three weeks from full data handover.
Briefing
You send the plan set (site plan, floor plans, elevations, sections) and references. We agree on scope and visual direction.
Clay renderings
First untextured drafts establish perspective, proportion, and light. Here we decide which views are taken further.
Material development
Based on the chosen perspectives, color drafts emerge with materials, vegetation, and atmosphere. One feedback round is included.
Final
After the last sign-off, the images are final-rendered and delivered in the agreed resolution.
Good to know
What sets a convincing interior visualization apart from a plain 3D model image?
The difference is in light, material, and detail. A purely technical model image often looks flat. A convincing interior visualization uses realistic daylight, believable material reflections, and deliberately placed details, so the space reads as if photographed.
What source material do I need for an interior visualization?
Floor plan and sections or elevations for the geometry, plus information on floors, walls, and planned materials. Reference images for the desired style help align expectations early. If something is missing, we clarify it in the briefing.
How does the review process work up to the final image?
After the briefing, a first draft is produced for you to review and comment on. Perspective, materials, and furnishing are refined in a feedback round before the image is final-rendered.
Reference projects
Examples from current developments where the interior visualizations were produced for marketing: