KnowledgeUpdated: July 11, 2026
From Plan Set to Rendering: How an Archviz Project Works
An architectural visualization is created in fixed steps: you provide the plan set, I build a 3D model from it, set the camera and composition, and first show a material-less clay preview. After two feedback rounds, the final image follows with light, materials, and postproduction. A frozen plan status keeps the process fast and predictable.
Contents
Before their first project, many clients wonder how such a visualization is actually created and what they need to provide. I have worked as a 3D artist since 2018 and describe the workflow here exactly as it runs with me, step by step.
Step 1: Plan set and briefing
It all starts with your documents. I need floor plans, elevations, and ideally sections, plus details on materials and colors and the intended use of the images. The more complete the plan set, the fewer questions and the faster the project. If something is missing, we clarify it in a short conversation, that is no obstacle.
Step 2: The 3D model
From the plans I build a true-to-scale 3D model of the building: massing, facade, windows, roof, and, depending on the image, the immediate surroundings. This model is the basis for all further perspectives. Once it is built cleanly, several views can be derived from it.
Step 3: Camera and composition
This is where it is decided how the building comes across. I set the perspective, framing, and visual guidance. A good camera position shows the object to advantage without distorting the proportions. I discuss this choice with you early, because it defines the character of the image.
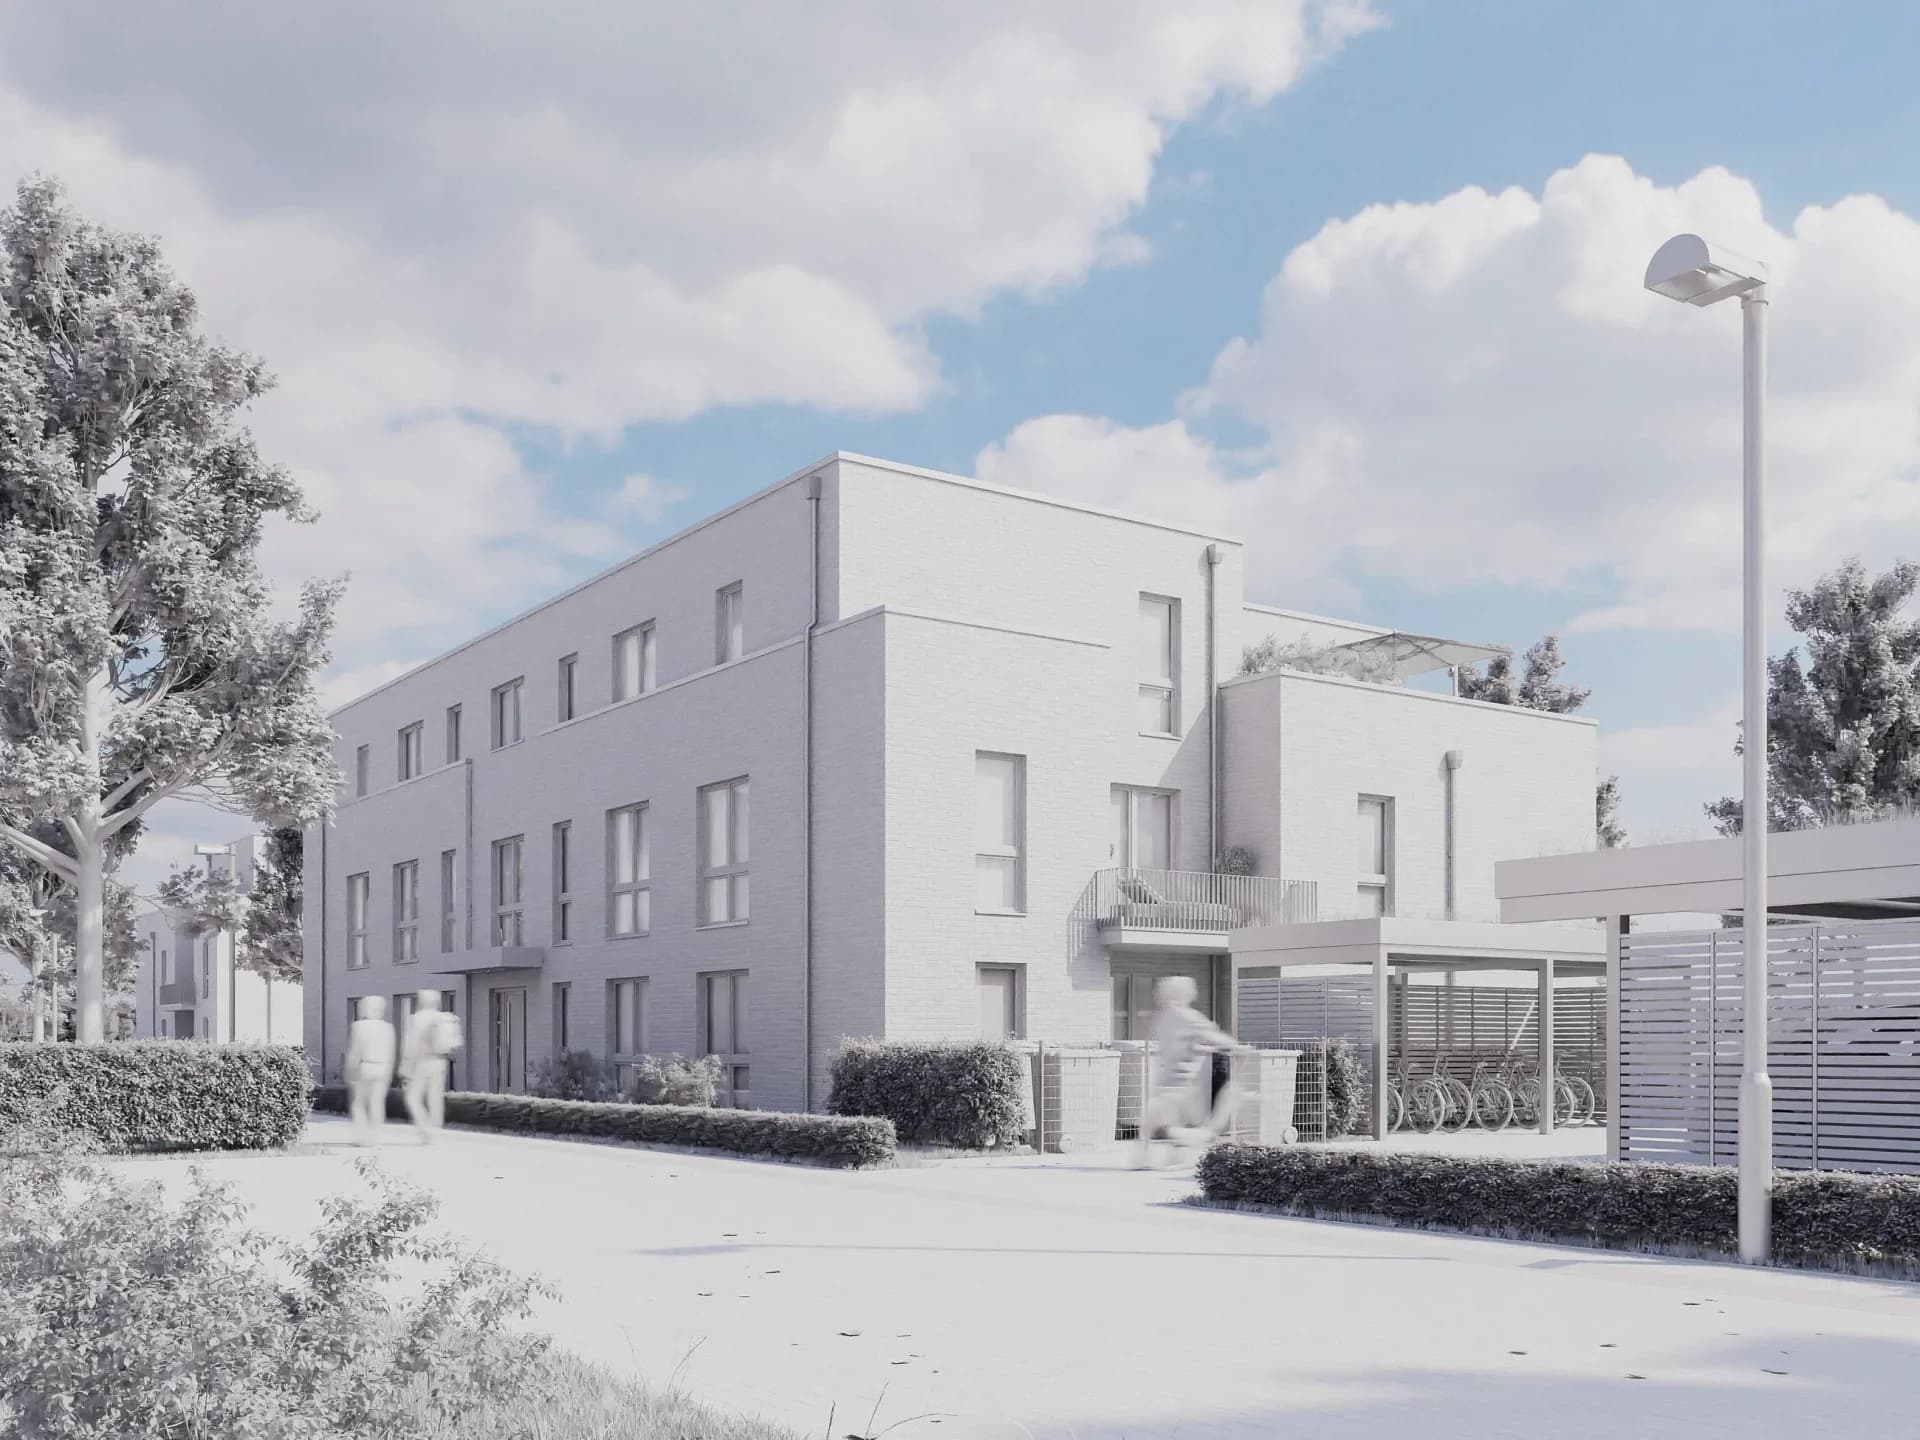
Step 4: The clay preview
Before materials and light come into play, you see a clay preview: a material-less grayscale image from the chosen perspective. This lets us check camera, proportions, and composition while changes are still fast and cheap. Only when the clay is right do we go into detail.
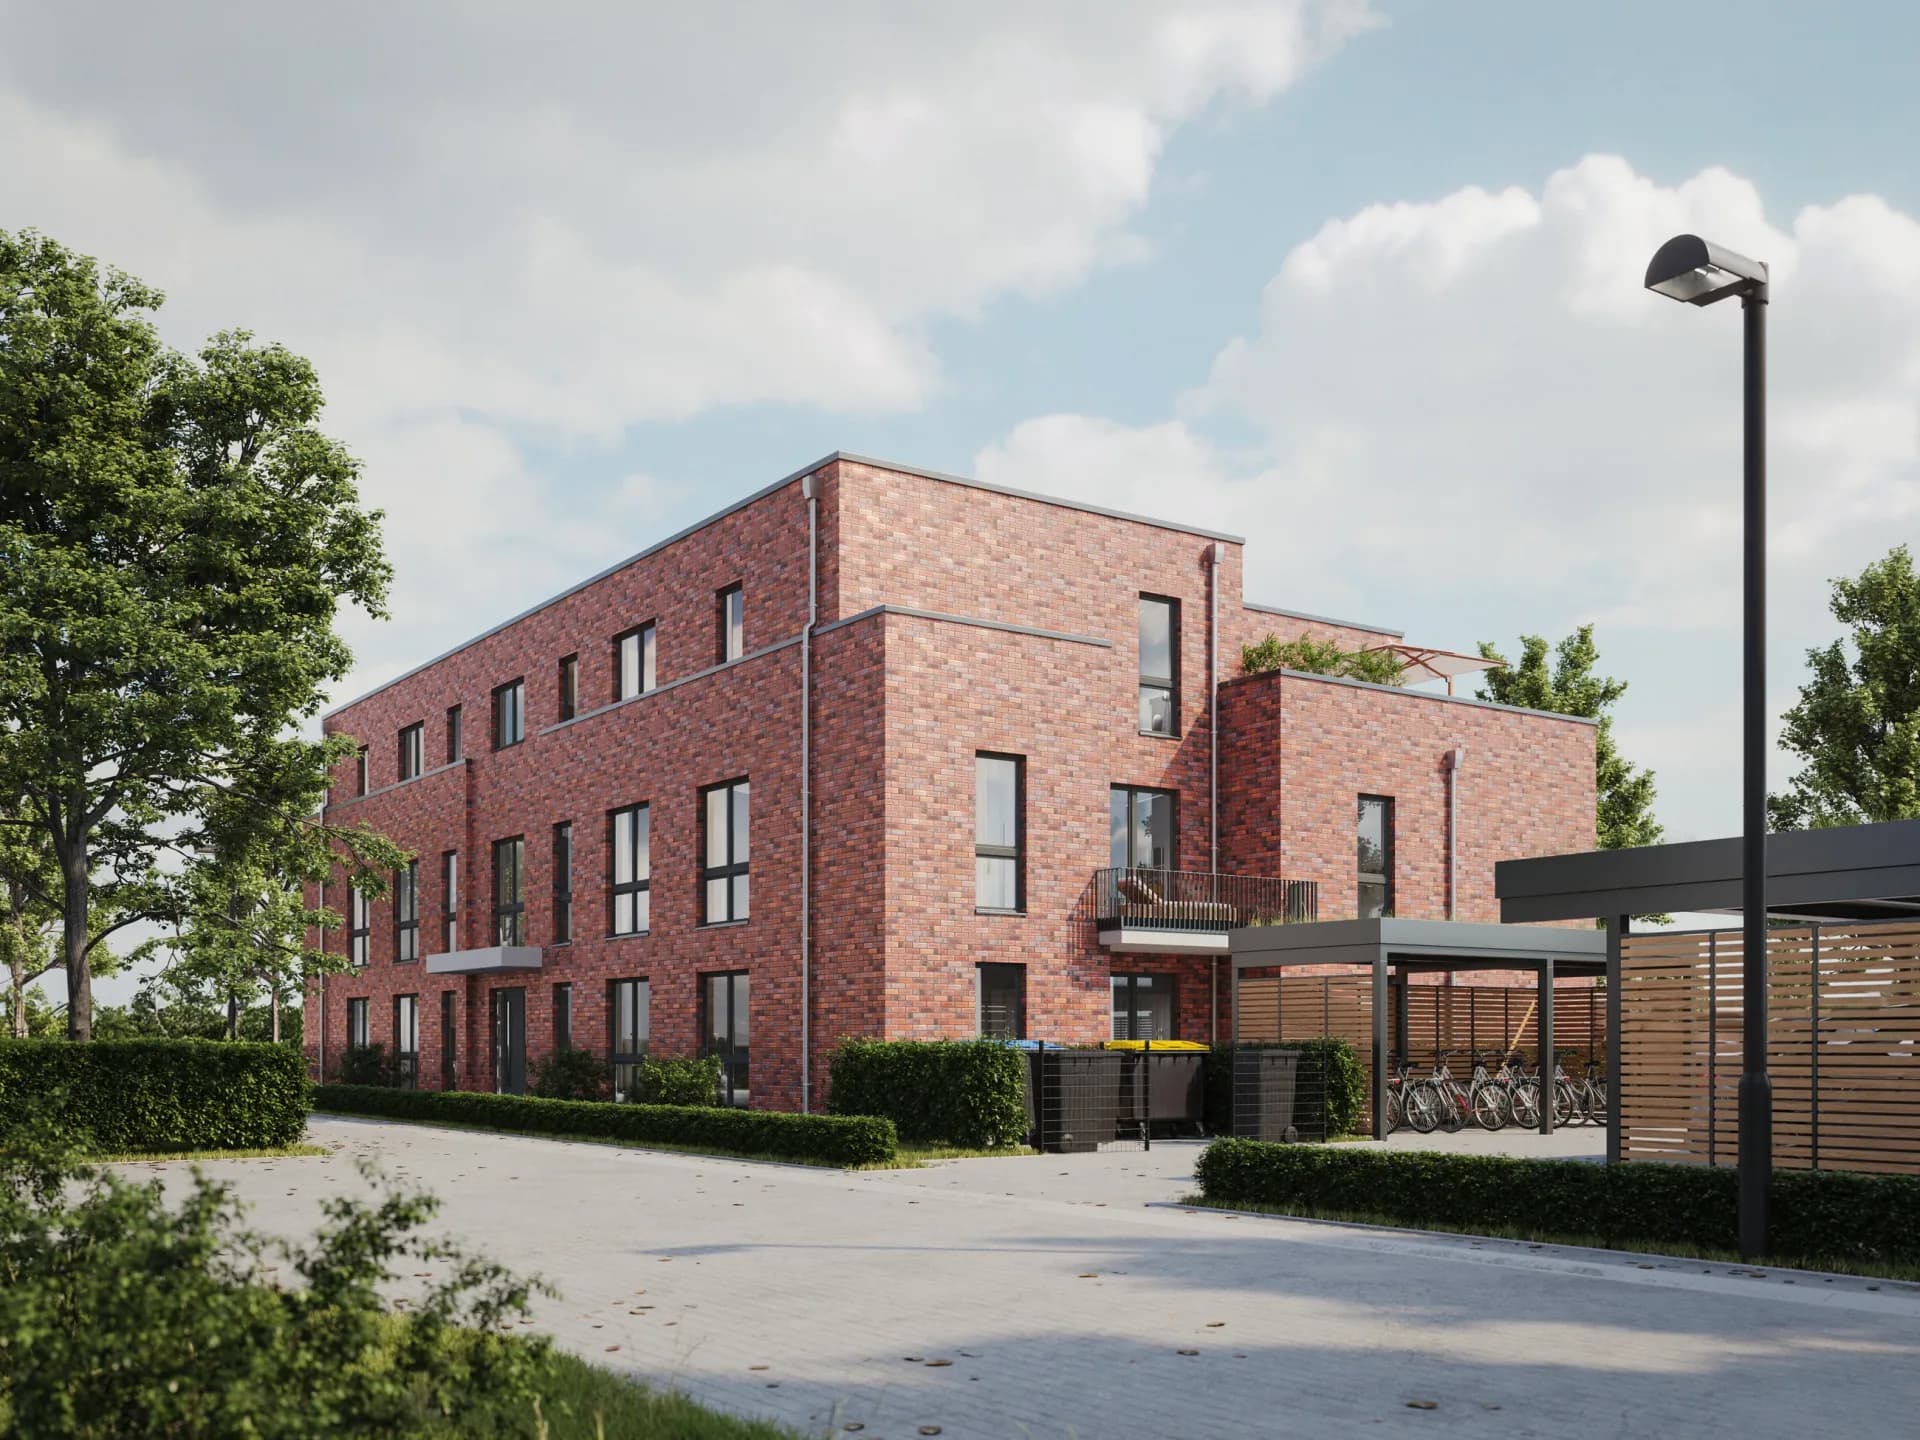
Step 5: Light, materials, and context
Now the image gains its atmosphere. I assign materials to your specifications, set the light for the right time of day, and add context: planting, sky, people, and the surroundings that embed the building credibly. This is where the difference is made between a technical image and one that appeals to buyers.
Step 6: Two feedback rounds
You receive the image and give feedback, I implement it. It is most efficient to give notes collected and specific, rather than in many small messages. As a rule, two rounds are enough for the image to be final. Larger changes to the building itself belong in the clay phase, not here.
Step 7: Finalization and delivery
Finally, I render the image at full quality and refine it in postproduction with Photoshop. You receive the files in resolutions for web and print, ready to use for exposé, real estate portal, and website.
What you should bring for a fast process
- A complete plan set: floor plans, elevations, and ideally sections.
- Details on materials and colors, or reference images for the desired mood.
- The intended use of the images: exposé, portal, large-format print, or social media.
- A frozen plan status, so the model does not change during production.
How long does a visualization take?
That depends on the scope. A single image is often ready within a few days, while a larger image series for an entire new-build project typically takes about two to four weeks. A complete briefing and a frozen plan status are the biggest levers for a swift process.
In short: the process is predictable when the basics are right. What the term architectural visualization means overall is explained in the fundamentals article What are architectural visualizations?. Which image types suit a project can be seen at exterior and interior visualization.
Planning a project?
Send me your key details and you will receive a concrete, free quote within 48 hours.
Request a free quote